How to Deploy AI Agents
1. VPS Setup
Hetzner Cloud (same process for any provider)
Start here first
Before touching OpenClaw, you need a server. This section walks through provisioning a VPS on Hetzner Cloud (one of the best price-to-performance options in Europe) from account login to your first SSH session.
Why a VPS instead of running locally?
Running AI agents on your laptop works for quick experiments, but falls apart in production. Your laptop sleeps, loses Wi-Fi, and shares resources with everything else you're doing. A VPS gives you a dedicated machine that's always on, always reachable, and isolated from your daily workflow. It's also the only sane way to expose messaging integrations (Telegram, WhatsApp) that need a persistent connection.
More importantly, a VPS behind Tailscale (which we'll set up in the next section) means your agent infrastructure is invisible on the public internet, no open ports for bots to scan, no brute-force attempts filling your logs.
Why Hetzner?
Hetzner's CX23 plan gives you 2 vCPUs, 4 GB RAM, 40 GB NVMe, and 20 TB of traffic for €3.49/month (about $4). That's roughly 3-5x cheaper than equivalent specs on AWS, GCP, or DigitalOcean. Billing is hourly with a monthly cap, so you can spin up a server, test for a few hours, and destroy it for pennies. Datacenters are in Germany and Finland (with US locations available), which keeps latency low for European users and respects EU data residency requirements by default.
For OpenClaw with cloud-hosted models (Anthropic, OpenAI), the CX23 is more than sufficient. If you plan to run local models through Ollama, you'll want to step up to a CX33 (4 vCPUs, 8 GB RAM) or higher, more on that in the OpenClaw install section.
Step 1: Log in to Hetzner Cloud
Head to console.hetzner.cloud and sign in. If you don't have an account, registration takes about two minutes. Hetzner may ask for ID verification for new accounts, this is normal and usually completes within a few hours.

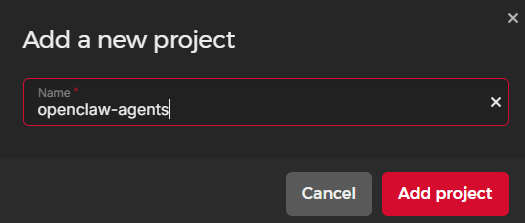
Step 2: Create a new project
Projects in Hetzner are organizational containers, think of them like folders. Create one called something descriptive (e.g., "ai-agents" or "openclaw-prod"). This keeps your agent infrastructure separate from any other servers you might spin up later.
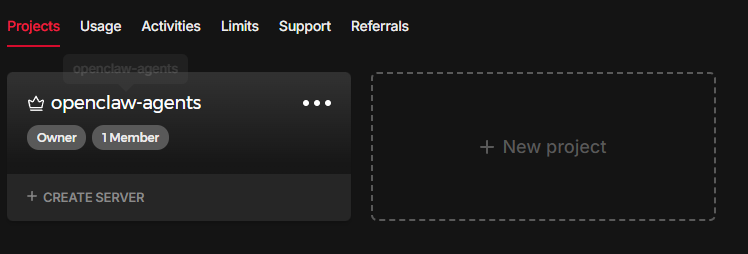
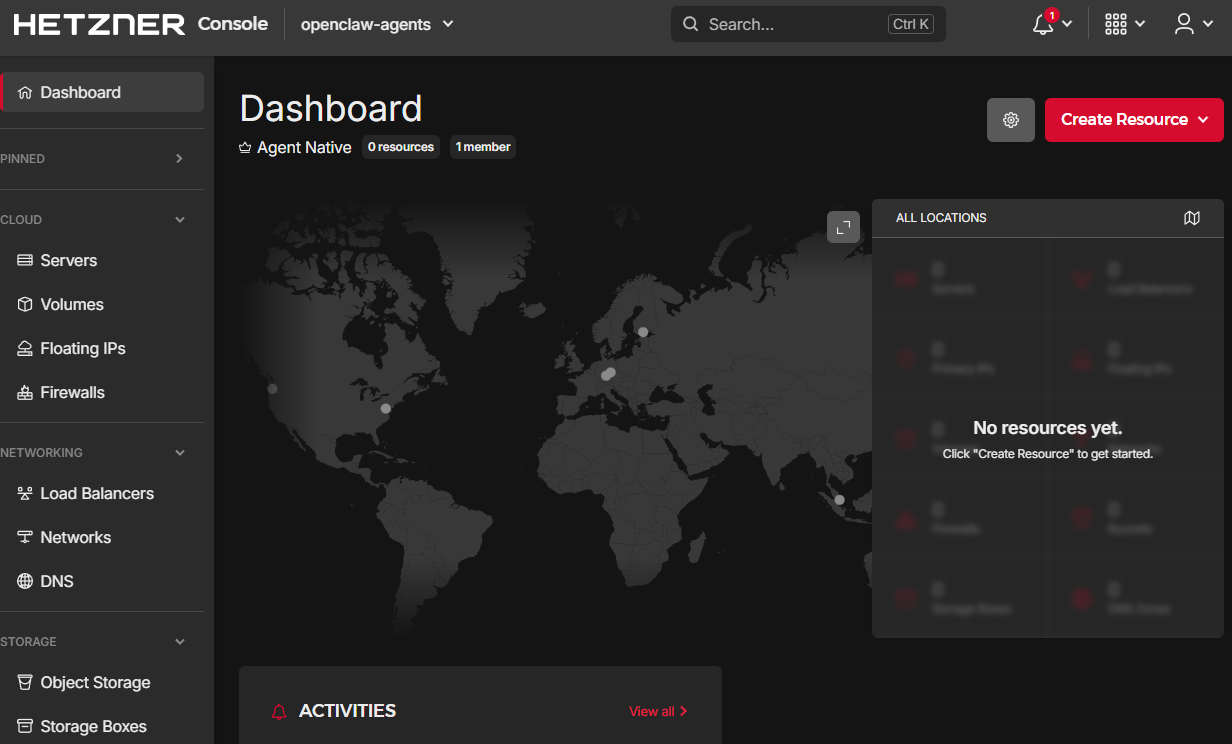
Here's your project dashboard where you'll manage all resources:
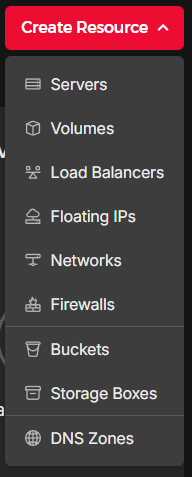
Step 3: Create a new server
Click Create New Resource → Server. This is where you configure the machine specs. Here's what to select:
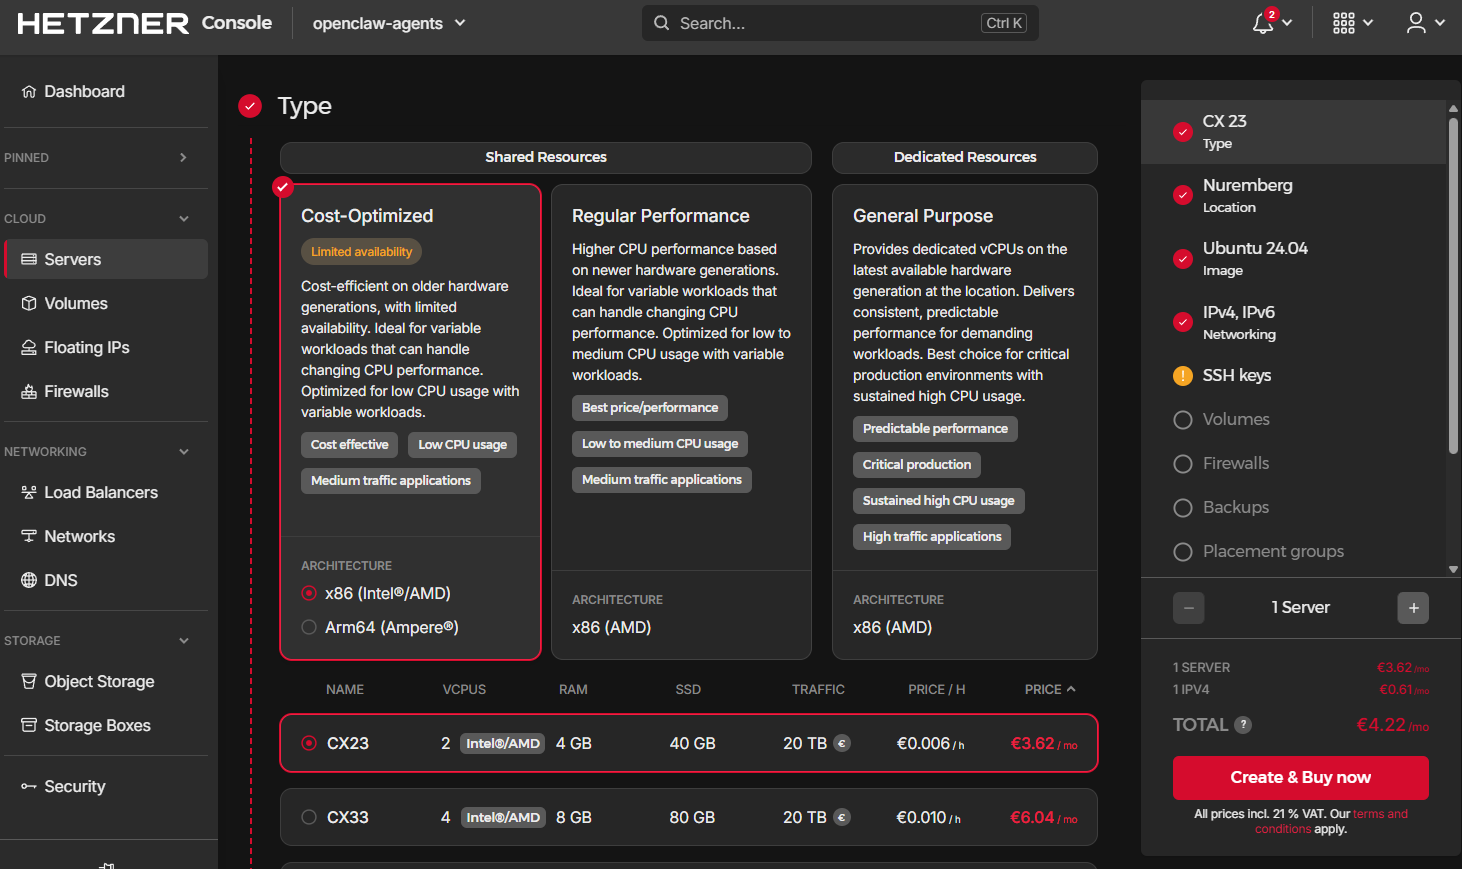
Step 4: Choose server type
Select Shared vCPU under the server type. This is the cost-optimized tier where CPU cores are shared across tenants, perfectly fine for an agent gateway that spends most of its time waiting on API responses rather than crunching data locally.
Pick CX23 as the plan (2 vCPUs, 4 GB RAM, 40 GB NVMe). For reference, here's how the cost-optimized line scales if you need more later:
- CX23: 2 vCPUs, 4 GB RAM, 40 GB NVMe for €3.49/month
- CX33: 4 vCPUs, 8 GB RAM, 80 GB NVMe for €5.49/month
- CX43: 8 vCPUs, 16 GB RAM, 160 GB NVMe for €12.49/month
- CX53: 16 vCPUs, 32 GB RAM, 320 GB NVMe for €24.49/month
You can resize between these tiers later without losing data, Hetzner handles the migration. Start small, scale when you need to.
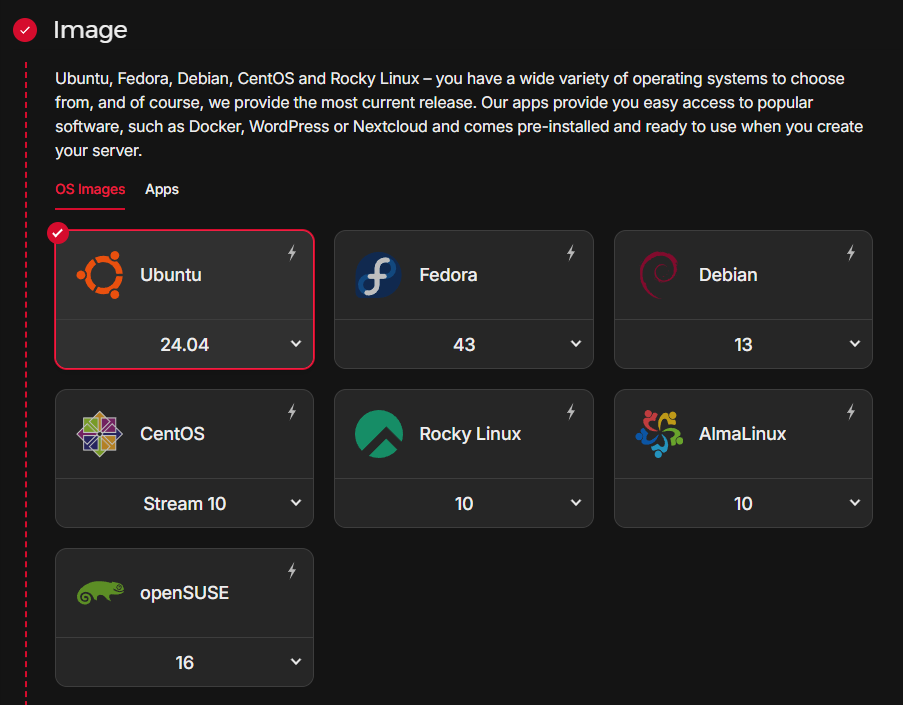
Step 5: Select the OS image
Choose Ubuntu 24.04 LTS. OpenClaw officially supports Ubuntu 22.04 and 24.04. The 24.04 release gives you a newer kernel, updated packages, and security patches through April 2029.
Some operators prefer Debian for its conservative update policy and lighter footprint. Both work, Ubuntu just has broader community support for troubleshooting, and it's what most OpenClaw guides assume.
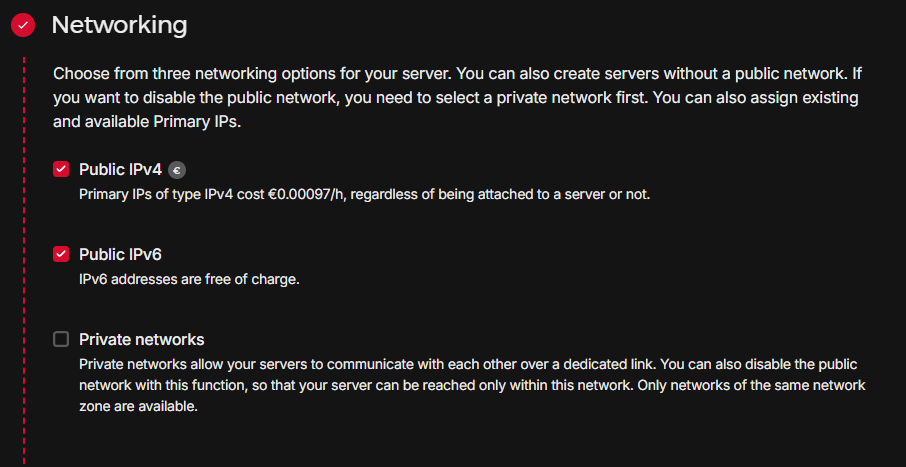
Step 6: Configure networking
Enable both IPv4 and IPv6. The IPv4 address is what you'll use for initial SSH access (before Tailscale takes over). IPv6 is free and future-proofs your setup, some services and APIs are starting to prefer it.
Don't worry about the public IPv4 being exposed right now. In the next section, we'll lock it down so only Tailscale traffic gets through.
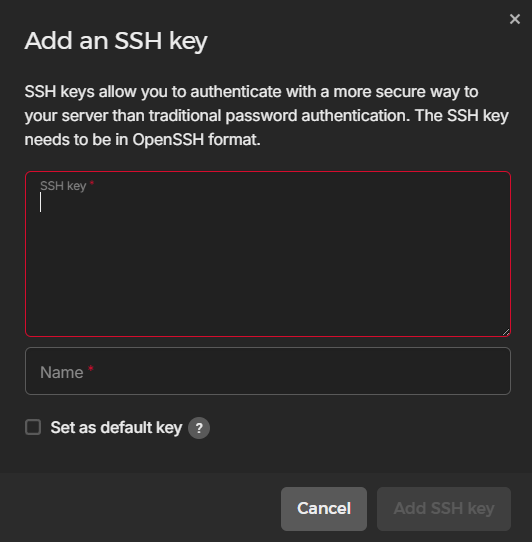
Step 7: Add your SSH key
Paste your public SSH key in the dialog. If you don't have one yet, generate a key pair on your local machine:
# Generate an Ed25519 key (modern, fast, secure)
ssh-keygen -t ed25519 -C "your@email.com"

# Copy the public key to your clipboard
cat ~/.ssh/id_ed25519.pub
Ed25519 keys are shorter and faster than RSA, and they're the recommended default in 2026. Paste the contents of the .pub file into the Hetzner SSH key dialog. This key is only needed for the initial connection, once Tailscale SSH is configured, it takes over authentication entirely.
Step 8: Skip volumes and firewalls
Leave Volumes and Firewalls empty for now. The 40 GB NVMe included with CX23 is plenty for OpenClaw (which needs around 1-2 GB for the installation plus workspace). We'll handle firewall rules at the OS level with ufw and Tailscale, which gives us more granular control than Hetzner's cloud firewall.
Step 9: Name it and create
Give your server a meaningful name (e.g., openclaw-prod or agent-gateway-01) and click Create & Buy. Provisioning takes 10-30 seconds.

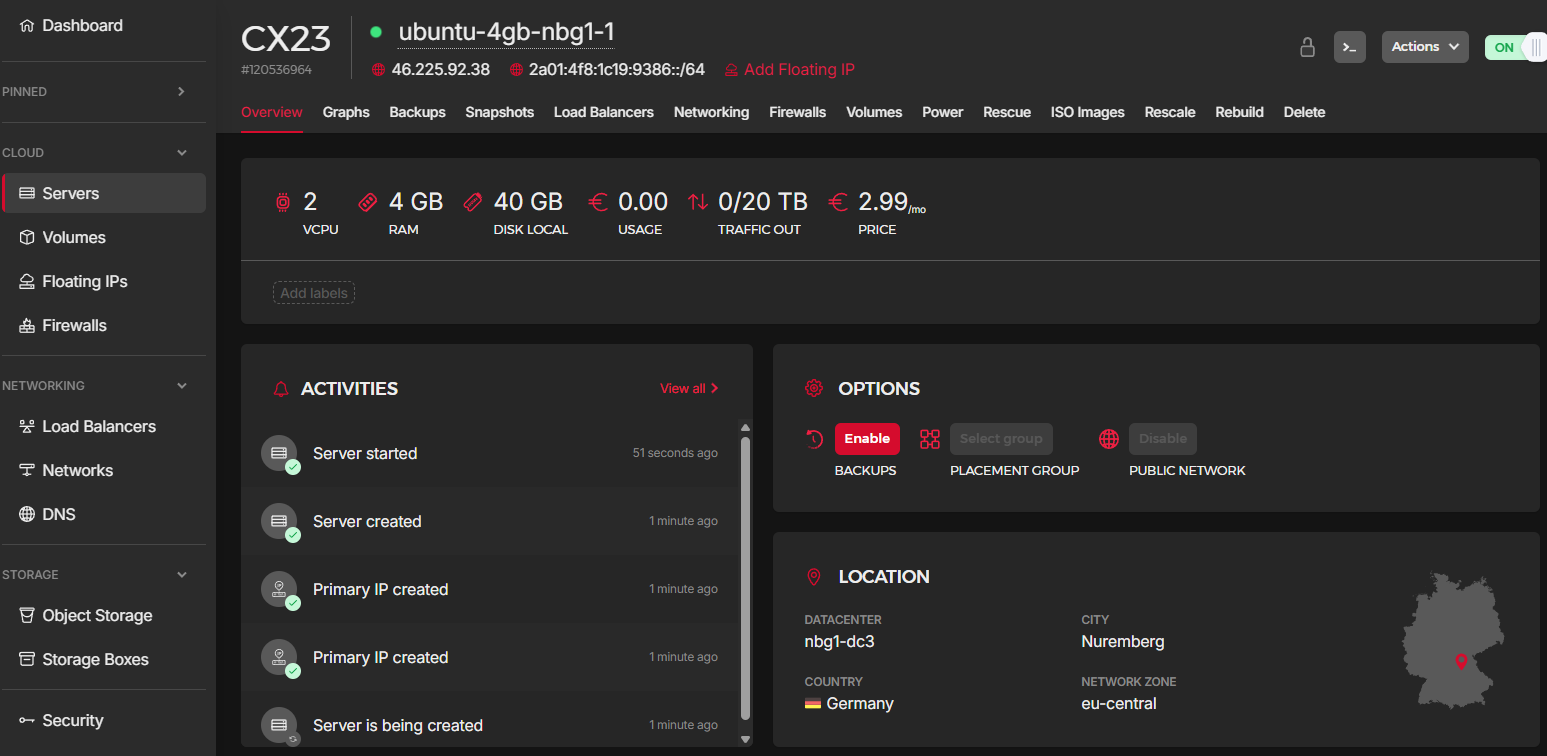
Step 10: Copy the public IP
Once the server status turns green, copy the public IPv4 address. You'll need it for the initial SSH connection. After Tailscale is configured, you'll use the Tailscale IP (a 100.x.x.x address) instead.
Step 11: SSH for the first time
Open a terminal on your local machine and connect:
ssh root@<PUBLIC_IP>
# Type "yes" when prompted to accept the host fingerprint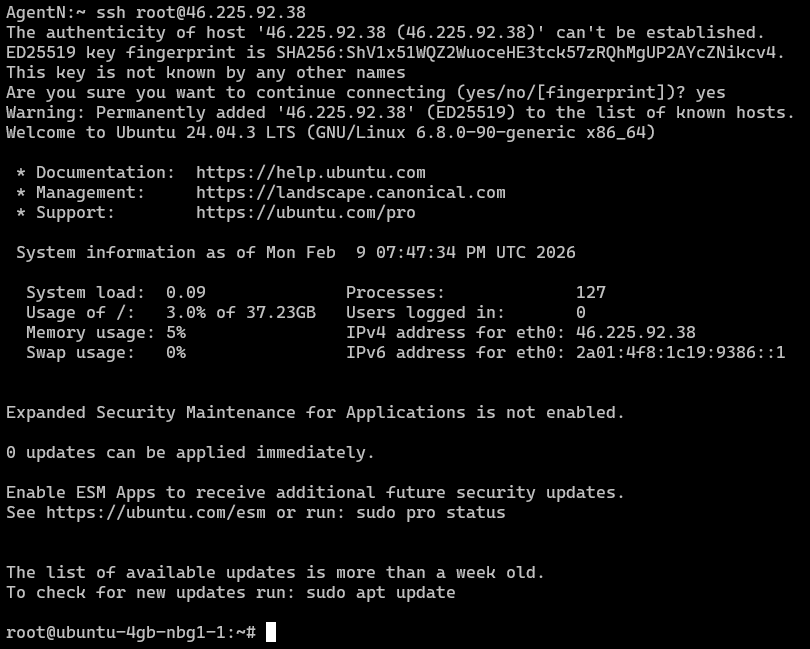
If the connection succeeds, you're in. This is the last time you'll SSH over the public internet, by the end of the next section, public SSH access will be completely disabled.
If it fails, double-check that the SSH key you pasted matches the private key on your local machine (~/.ssh/id_ed25519), and that your local IP isn't being blocked by any corporate firewall or VPN.
What we've accomplished
You now have a dedicated Ubuntu server running in Hetzner's datacenter for €3.49/month. It has a public IP, root SSH access, and 40 GB of fast NVMe storage — everything OpenClaw needs. But right now, it's completely exposed on the public internet. Every port is reachable, SSH is listening on port 22, and automated bots will start probing it within hours. Let's fix that.